The Right Way to Prepare a Surgical Instrument Tray Before Every Procedure
In a busy operating room, there is very little room for error. When your surgical instrument tray is not properly assembled, it slows down the team, creates safety risks, and puts the patient in a vulnerable position. A structured preparation process fixes all of that before it becomes a problem.
What Does a Systematic Tray Assembly Actually Mean?
It means your clinical staff follows the same verified steps every time a surgical instrument tray is prepared, regardless of who is doing it. No shortcuts. No relying on recall.
This kind of standardised process moves tray preparation away from informal habit and builds it into a dependable clinical routine. The result is a tray that your surgical team can trust before the first incision is made.
Why a Consistent Setup Protects Both Staff and Patients
Fewer Delays in the Operating Room
When every instrument sits in its expected position, your team does not search during a procedure. That predictability keeps the workflow moving and reduces pressure on both surgeons and nurses at critical moments.
More Accurate Instrument Counts
Pre- and post-operative counts only work when the tray layout is consistent. A structured arrangement makes it straightforward to confirm that every tool that went in also came out.
Better Protection for Your Instruments
Careless stacking causes bending, surface damage, and worn joints. Organising by weight and fragility protects your tools, and that extends their working life considerably.
The Step-by-Step Assembly Protocol
Inspect Every Instrument After Decontamination
Before you place anything onto the tray, check each instrument under good lighting. Look for moisture, debris, surface corrosion, and any sign of structural damage. Test hinges and check that cutting edges are still sharp. An instrument that passes decontamination still needs this visual check.
Choose the Right Tray for the Sterilisation Method
Your container choice must match the sterilisation cycle you are running.
Perforated sheet metal trays suit standard steam sterilisation. Wire mesh baskets are the better choice where maximum airflow and drainage matter. Compartmentalised divider trays protect fine instruments by keeping them separated.
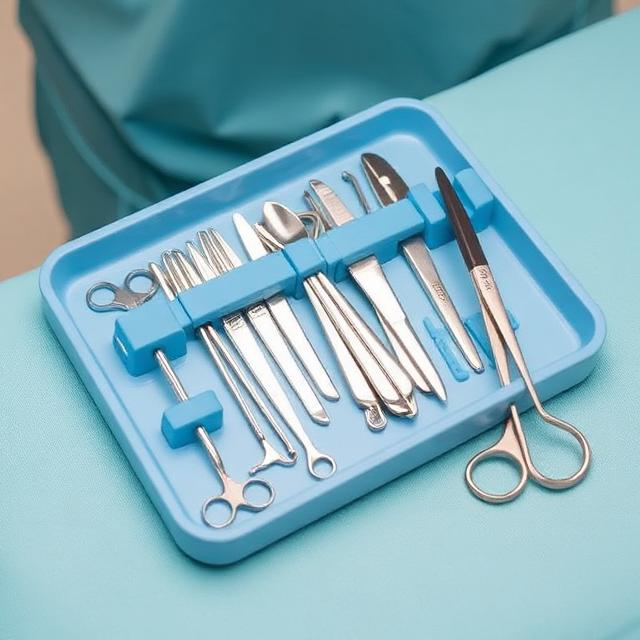
Lay Out Instruments by Weight and Function
Heavier instruments go at the bottom. Delicate, fine-tipped tools sit on top or inside silicone holders. Every hinged instrument, including forceps and scissors, must remain open. Closed joints block steam from reaching the internal surfaces (which undermines the entire sterilisation process).
Place Chemical Indicators & Run a Final Check
Place chemical indicators inside the container before sealing. Then cross-check the complete tray against your master inventory list. This final step catches any missing items before the tray reaches the steriliser.
Mistakes That Are Worth Avoiding
Overcrowding a tray restricts steam movement and prevents proper drying. Sending hinged instruments through the steriliser in a closed position leaves joint surfaces inadequately treated. Placing heavy tools on top of delicate ones causes damage that is not always visible until the instrument is already in use.
United Poly Engineering manufactures a full range of sterilising containers and wire trays built for consistent clinical performance across healthcare settings.
FAQs
How does a consistent tray layout support operating room efficiency?
When instruments are always in the same position, your team works faster and with greater confidence during procedures, without pausing to locate tools.
Why do hinged instruments need to stay open during assembly?
Steam must contact every surface, including the internal joint areas. A closed hinge prevents that contact and creates a gap in sterilisation coverage.


